Let me start off by saying that this was my third attempt at creating a water blob. I looked at different ways to do it on the internet.
The first time I went to Lowes and bought a large plastic drop sheet and strong duct tape. I spent $20 and wasted time duct taping all around the edges. The blob leaked and flattened. This was a FAIL!
The second time I went to the Dollarama and bought a plastic drop sheet, duct tape and parchment paper. I ironed along the edges. The blob leaked out and deflated. Again this was a FAIL!
My third try was a WIN! In fact, I should have made two or three of them and filled them up side by side so the kids had more areas to play on.
*Large Sensory Blob*
What You’ll Need
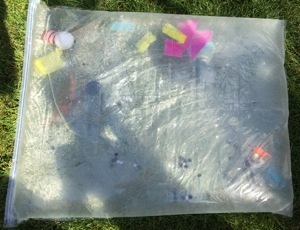
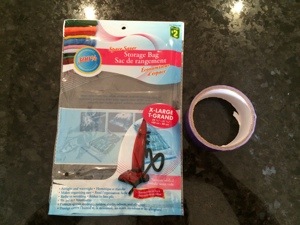
XL size space saver storage ($2 each at the Dollarama)
Duct tape ($1 at the Dollarama)
Scrap items to put inside the bag. (We put in mini rubber dinosaurs, pom poms, a foam ball and different colours of cut up tissue paper. Other ideas you can do is feathers, small soft rubber toys, and leaves).
Instructions
Don’t touch the cap part on the bag. Leave sealed.
Slightly open a small piece of the ziplock side of the bag (enough to put a hose inside).
Do this with the other one or two bags (if you are using more then one).
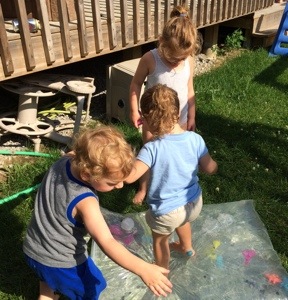
Put in your sensory items. Lay the bag flat on the side that doesn’t have the cap part (so the children won’t hurt their feet).
Lay the other bags next to each other in a row so they are touching one another.
Fill the first bag with water. When finished, seal the bag shut.
If there are any holes you can patch them with duct tape. We only had one hole to patch that my two year old purposely made.
Repeat with the other two bags.
Make sure the kids wait until all bags are sealed shut before playing on them.
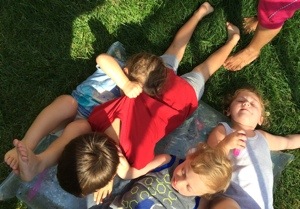
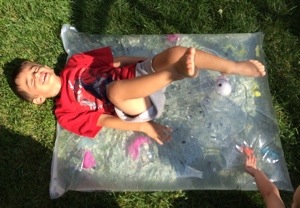
Have fun!